- The arbitrum mainnet is finally live with the release of the token.
There is not much different from the previous testnet, but we are reorganizing and re-posting it for new users. - During the preparation period, the token can be mined even if the node is not running, so you can read the article slowly.
- If you have been running a test node on the testnet, please reinstall your VPS OS and do a clean install. In my case, I had to start from scratch because my old testnet burner wallet was not recognized. (Announcement!Use the command here)
table of contents
Transitioning from testnet operations to mainnet
The announcement is out. For those who have been running the testnet, try the command below.
CLI
sudo systemctl restart aethir-checkerAccess your dashboard, log out, then log back in
Prepare for Arbitrum fees.
Move the ETH you want to spend on fees to Arbitrum from your exchange or wallet to your node wallet.
Arbitrum has low fees, so you only need to add a small fee.
Specifications for installing/running a node
64MB RAM 1 X86 CPU Cores@2.1GHz 10 GB Disk Space 10Mbps Internet Connection
This is a verifiable node, even on low-spec machines. If you’re running a VPS, you can use the lowest spec version or run it alongside another node if it’s error-free.
Recommended VPS

I’ve used contabo, vultr, pqhosting, racknerd, and racknerd for my VPS.
I’m using racknerd’s lowest price of $22.99/year because this node has low specs.
If you only pay $22.99, it’s a lot cheaper because it’s a year of use, so I recommend it.
If you sign up with the address below and use it, you can help my blog while using it. (The price is the same)
Click here to go to our post on how to sign up
Sign up and include /NewYear/ after your .com address to get the New Year’s event price. Bigger capacity, lower price!
Which VPS console program should I use?
1. PuTTY (available for both Mac and Windows)
• Pros: Lightweight, free, supports SSH and Telnet
• Cons: GUI can be a bit outdated
• Download Link
2. Termius
• Pros: Modern interface; SSH, Mosh, and Telnet support; synchronization features available
• Cons: Some advanced features require a fee
• Download Link
3. MobaXterm (More features available on Windows)
• Pros: Integrates multiple network tools, supports SSH, Telnet, RDP, VNC, etc.
• Cons: Mac version not as feature-rich as Windows version
• Download Link
I recommend puTTY on Windows and Termius on Mac
I’m a MacOS user, so I use Termius, and I’m happy with the free version.
After installing each program, you can try it after connecting with your VPS IP and password.
Recent versions
Running a mainnet node
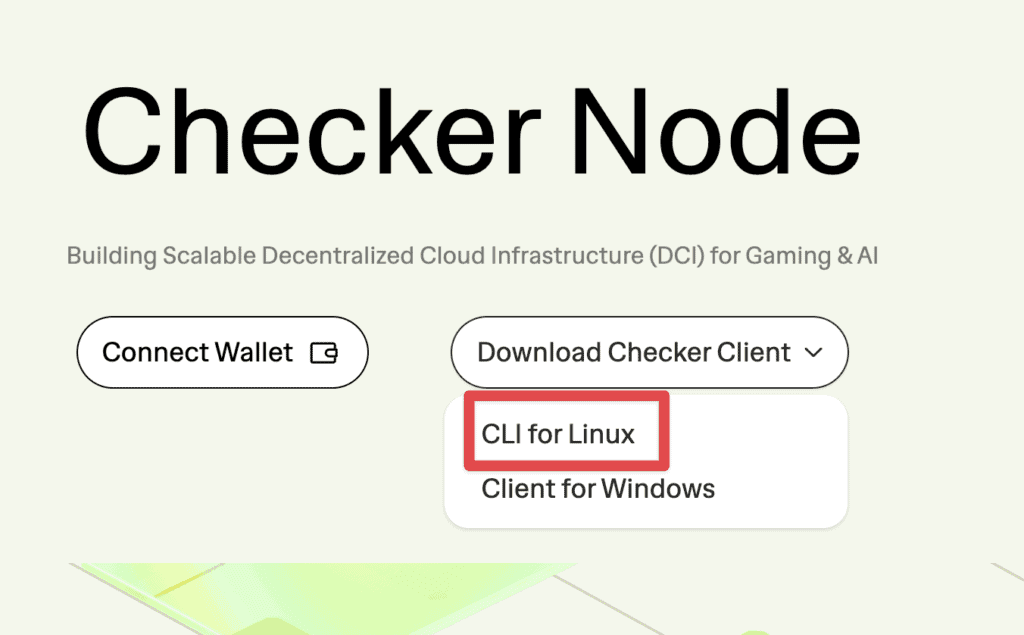
1-1 Go to the homepage, download the CLI file, and upload it using SFTP, or click the
1-2 You can also download it by running the following command from your VPS terminal. Please check the above address for any changes such as file addresses or updates.
wget https://checker-mainet-s3.s3.ap-southeast-1.amazonaws.com/na/AethirCheckerCLI-linux-1.0.2.2.tar.gzYou can find the new address/version as follows
After connecting to the site in 1-1

Hover over the CLI for Linux and right click on the link, see the address and modify 1-2.
After downloading, unzip it.
tar -xvf AethirCheckerCLI-linux-1.0.2.2.tar.gzInstall the screen.
sudo apt update
sudo apt install screen
Create a screen
screen -S AethirNavigate to the folder
cd AethirCheckerCLI-linux-1.0.2.2(By using AWS, the filename may be different depending on your regional location, so you’ll just have to deal with the name of the folder that was actually downloaded).
This is a new command since 1.0.1.7.
sudo ./install.shRun
sudo ./AethirCheckerCLIDo you agree to the Terms?
Enter Y
Create a wallet vault by typing the following
aethir wallet createCheck your current private and public keys, and enter them in a safe place.
To import an existing wallet
aethir wallet importEnter your existing private key.
After that, go to the homepage, connect your wallet and sign in. If the node exists, you’ll be taken to your dashboard. Navigate to the License tab on the left.

I’m showing Undelegate because I started running before I wrote this.
If it’s your first time, you’ll see the green button Delegate on the right side of the list.
If you have multiple nodes, you can click Delegate at the top to operate them all at once. I believe the maximum is 100 per wallet. You can adjust the number of lists at the bottom to do it all at once.
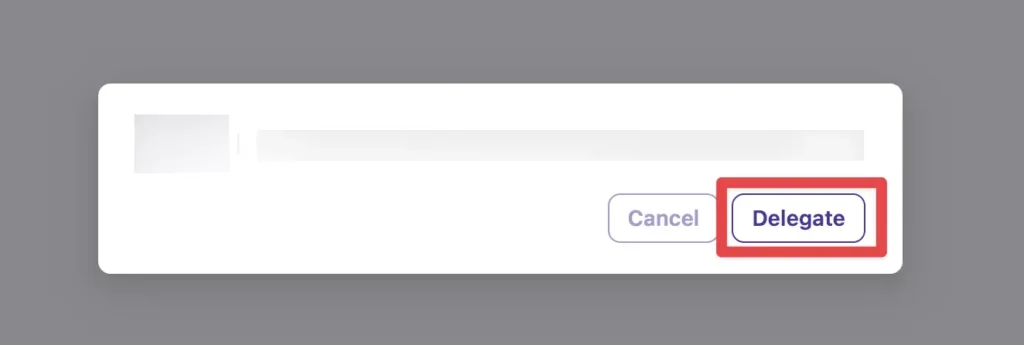
You’ll see the following screen, where you can enter the burner wallet you created earlier. It’s a short public key address, not a complicated private key.

Authorize it in your wallet, then go back to the console and click the
Enter the following
aethir license list --pendingWallets with NFTs will be listed.
Select all licenses in the wallet by entering the following
aethir license approve --allApproved. You have 1 delegated licenses, 0 pending.
If you see a message like the one above, you’re live.
If you see Ready on your node in the dashboard, you’ll start earning tokens tomorrow.
Before exiting the console, be sure to minimize the screen and exit by pressing the following keyboard keys
Ctrl+A+DLet us know if you have any questions or feedback in the comments.
Thank you for your support.

Thanks. Hope the coffee tastes good. 🙂
One little question: I have a Mac. Do you know how to exit the console here? Ctrl+A+D does not work here.